Serving Unity WebGL Builds from Github Pages


In addition to supporting deployment to PC, Mac, Linux, iOS, Android, and many other platforms, Unity supports building for WebGL, allowing developers to host Unity games on the internet. Github Pages is a powerful platform for serving static content. Using github pages, it is easy to maintain a simple website which serves playable unity games. This guide will relay the steps I followed to get this blog set up.
Disclosure: I am new to Jekyll (the site generator/templating engine powering Github pages) and don’t promise this is easiest or most extensible way to solve this problem.
Step 1) Set up a site using Github Pages. I forked minimal-mistakes to get started because I like the clean look-and-feel. Play around until you are comforatable adding posts, and see the referenced documentation as needed.
Step 2) Build your unity project for WebGL, preferrably not as a ‘development build’ more info. This will produce a directory containing index.html, Build/, and TemplateData/.
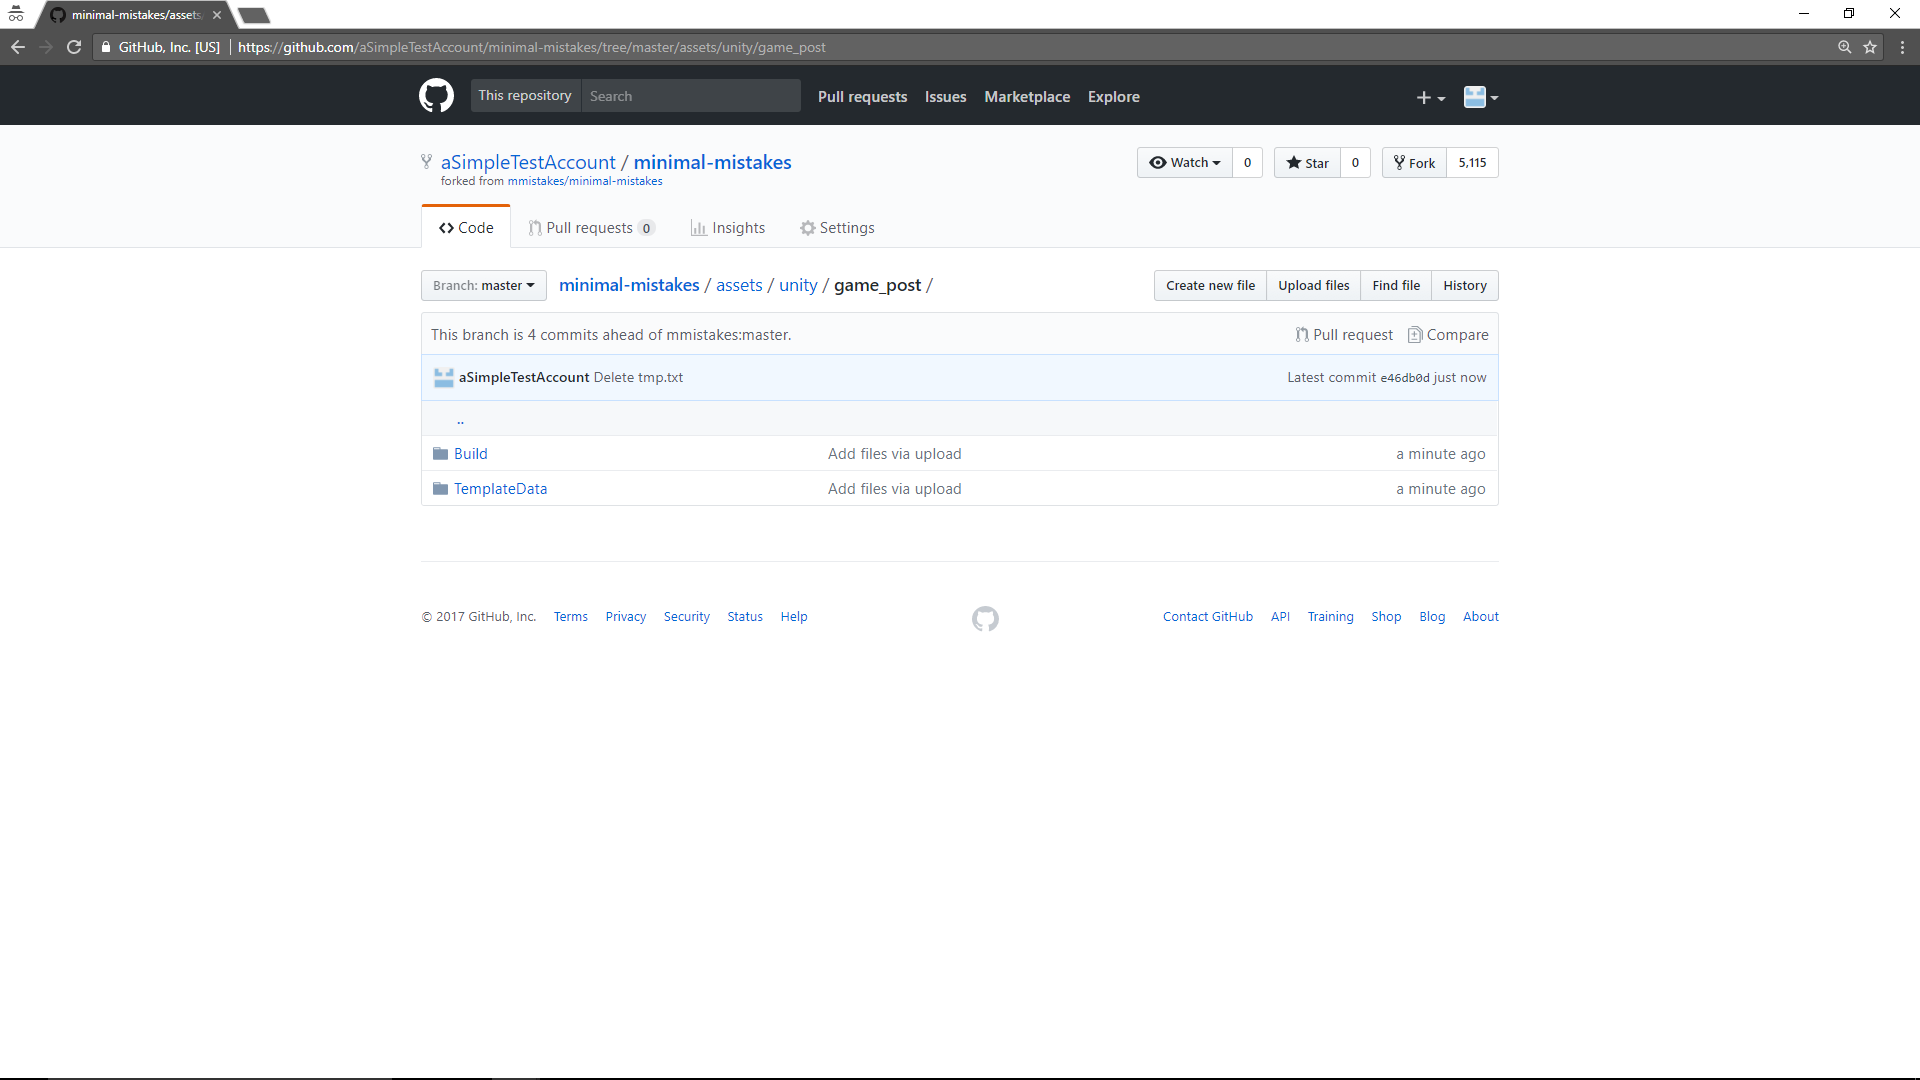
Step 3) Commit the Build/ and TemplateData/ directories to /assets/unity/build_name/ in your project (change ‘build_name’ to whatever you want the name of your build to be)
Step 4) Create (or edit) a post and add this snippet to front matter: unity_dir: build_name using your build_name from before. This will tell jekyll where to look for the game files for your post.
---
title: "Test Post"
date: 2017-10-13
unity_dir: game_post
categories:
- General
tags:
- test
---
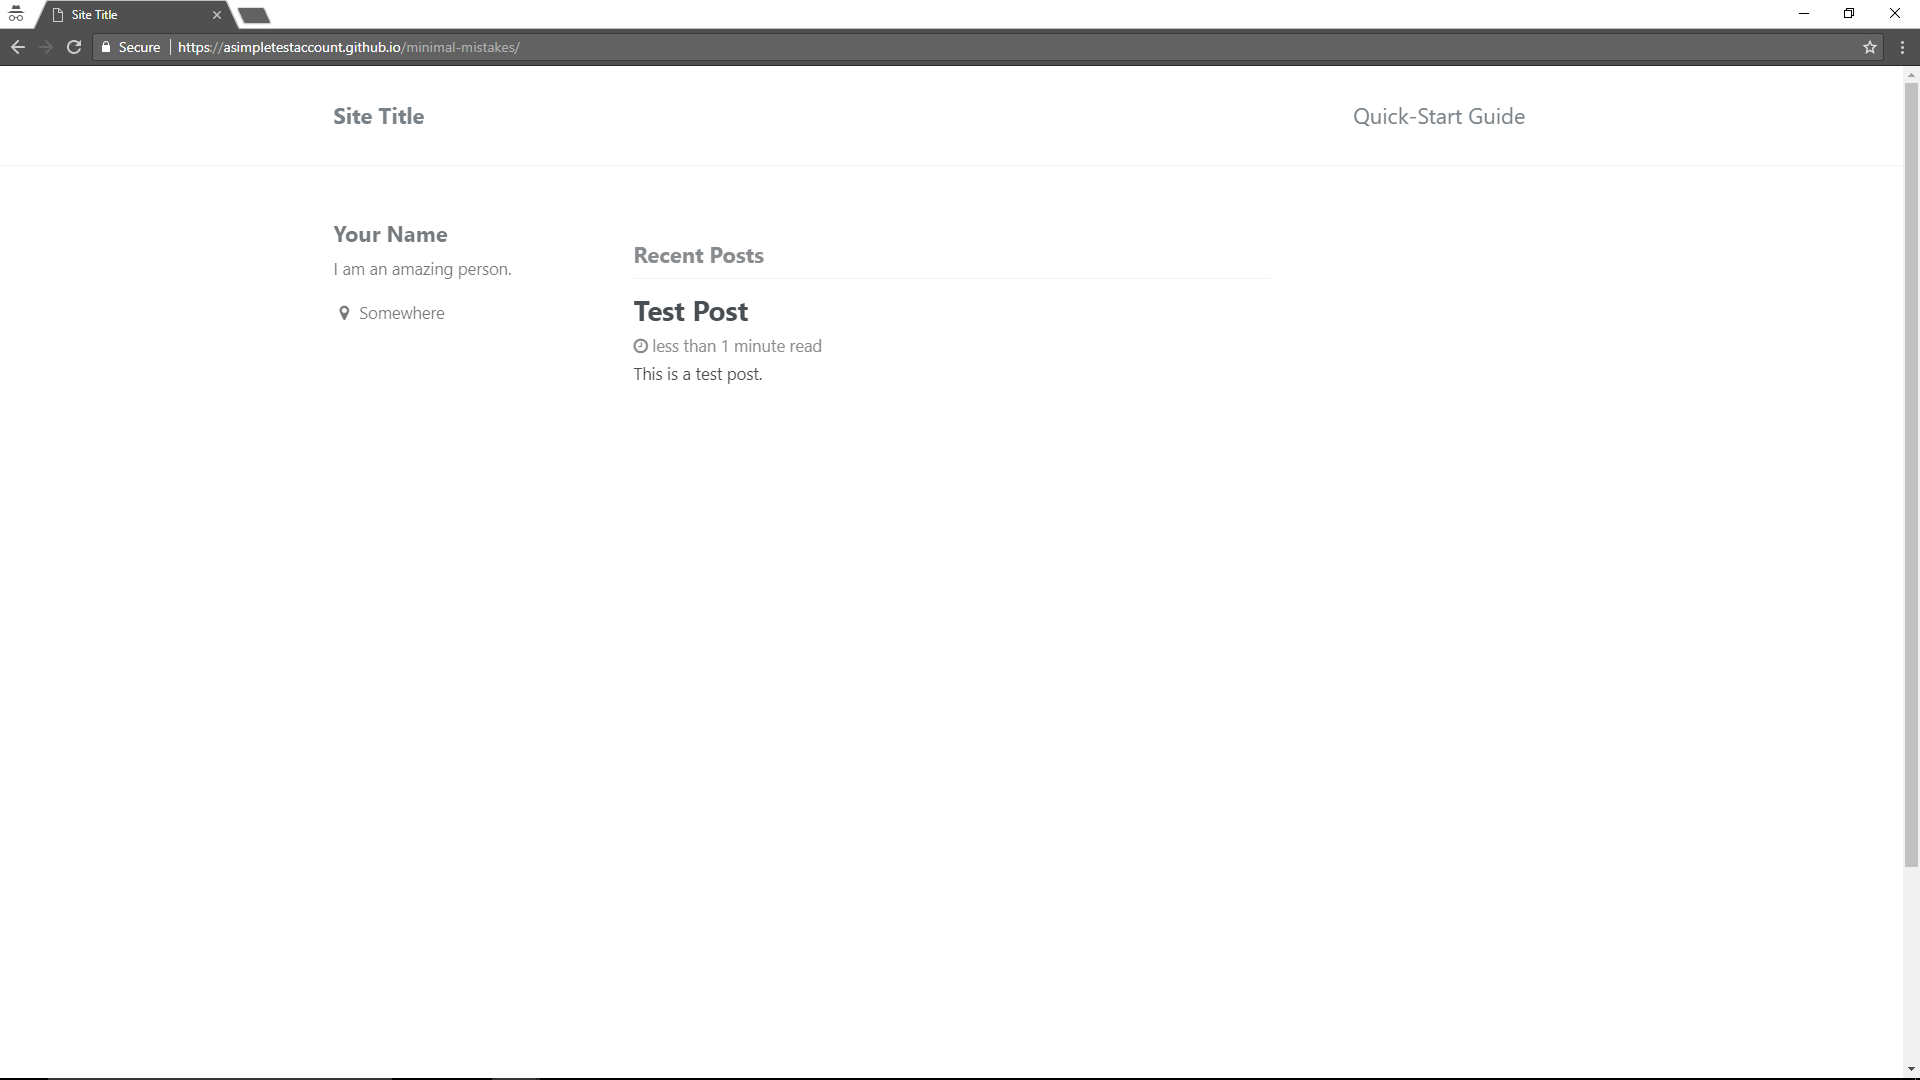
This is a test post.
Commit this post, then open it in the browser and you’ll see nothing special is happening yet.
Step 5) Next we’ll want to wire up the ‘unity_dir’ variable so jekyll will show the unity game you uploaded. To do this, you’ll need to update the layout used for your posts. If we look in _config.yml near the bottom, there is a section called ‘defaults’ where it specifies the default layout for posts, called ‘single’. This is the layout the posts will use, so in _layouts/single.html we’ll make the change than handles the unity_dir variable.
Search _layouts/single.html for a line containing {{ content }}, and in the line directly above it, add
{% if page.unity_dir %}
   {% include page__unity.html %}
{% endif %}
With this addition, when you open a post with unity_dir defined, it will include the html snippet page__unity.html in the body of the post (which we’ll define in the next step).
Step 6) Now we’ll define the html to be included when we’ve added unity_dir to a post. We want the included section to load the unity game to be played, just as the index.html file produced by your local unity build does. To do this, create a new file in _includes called page__unity.html and populate it with the following:
<script src="{{ site.baseurl }}/assets/unity/{{page.unity_dir}}/TemplateData/UnityProgress.js"></script>
<script src="{{ site.baseurl }}/assets/unity/{{page.unity_dir}}/Build/UnityLoader.js"></script>
<script>
  var gameInstance = UnityLoader.instantiate("gameContainer", "{{ site.baseurl}}/assets/unity/{{page.unity_dir}}/Build/builds.json",{onProgress: UnityProgress});
</script>
<div class="webgl-content">
  <div id="gameContainer" style="width: 960px; height: 600px"></div>
</div>
You’ll note that the variable unity_dir is used here to reference 3 files in the assets/unity/{unity_dir_varaible} directory– TemplateData/UnityProgress.js, Build/UnityLoader.js, and Build/builds.json. Another variable, site.baseurl, is also used as a part of the path. We’ll set that in the next step.
Step 7) Open _config.yml and search for baseurl. Update the baseurl variable so that it references your project name. For example:
baseurl : /minimal-mistakes # the subpath of your site, e.g. "/blog"
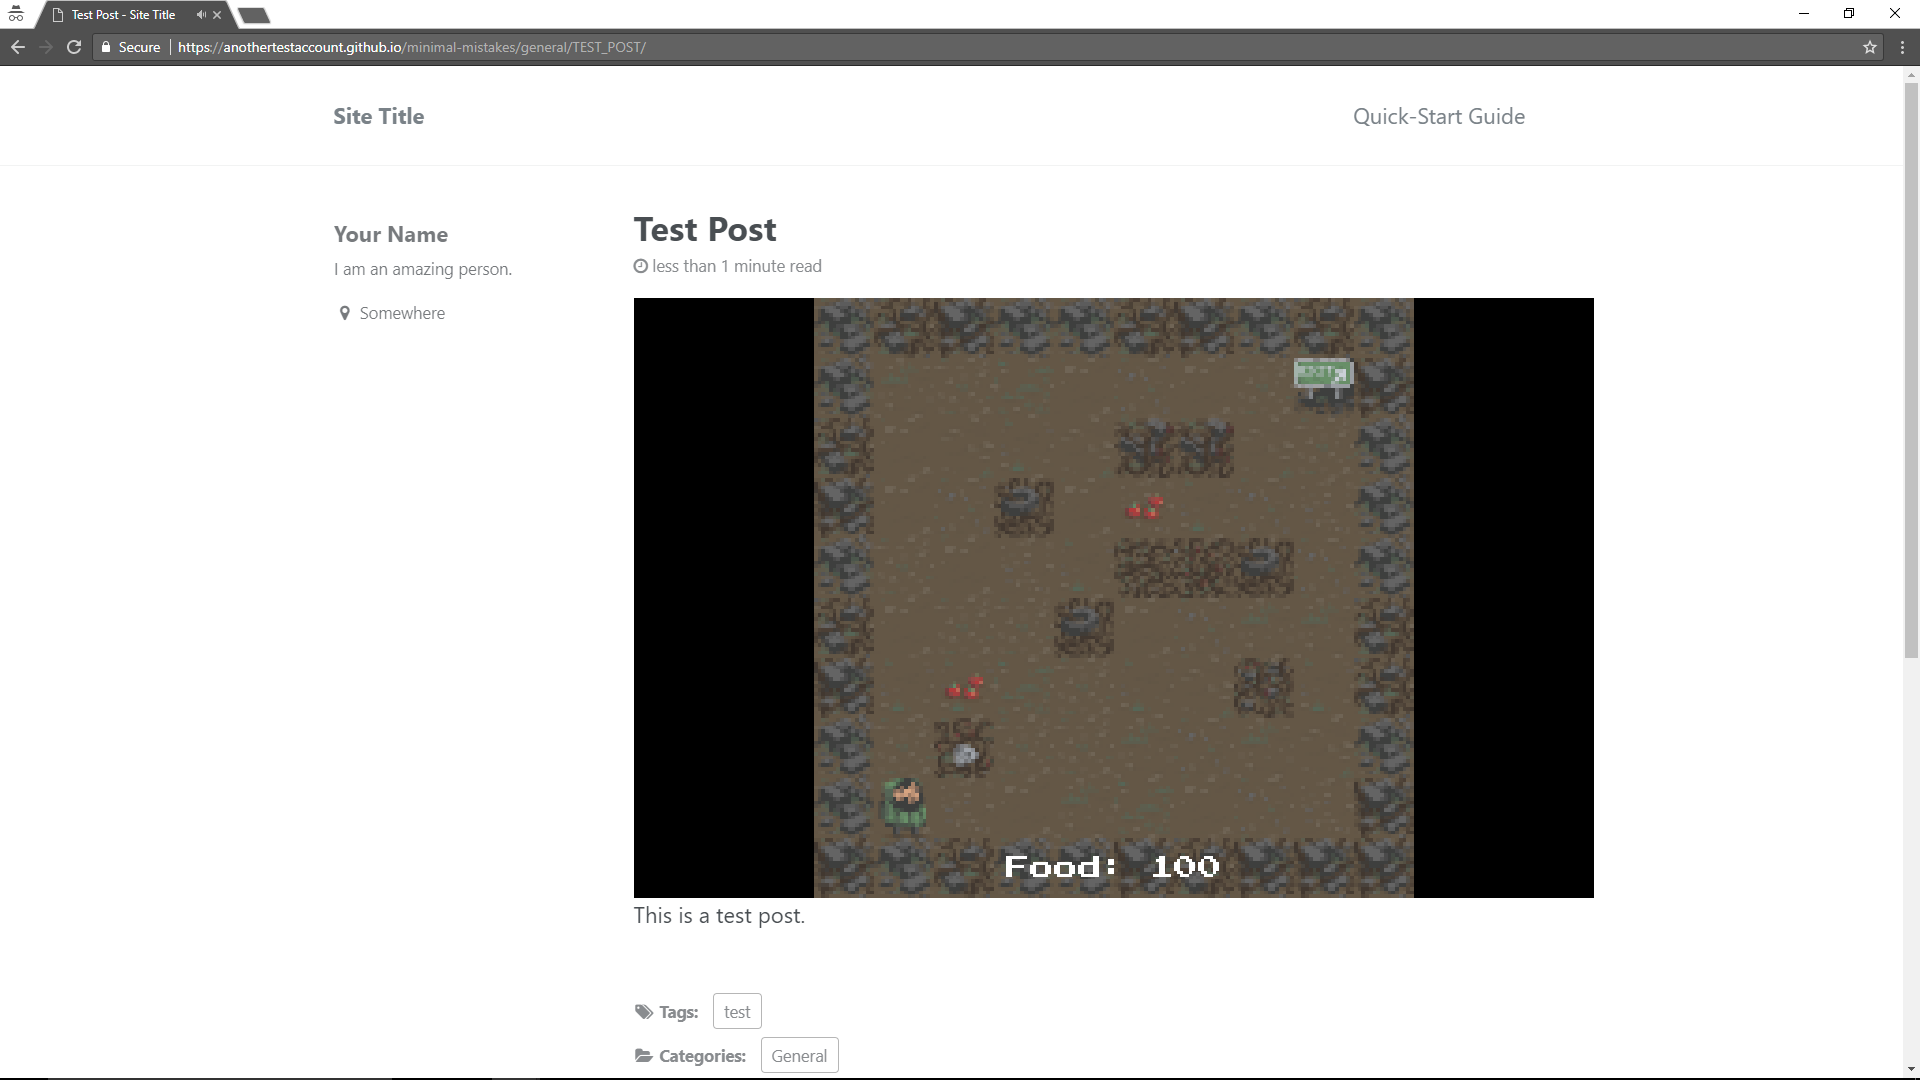
Step 8) Go to your github pages website and open your post. You should see a game load, something like this:
General Tips: If you are having trouble and need to debug, use chrome’s developer tools to right-click where the game should be, and pull up the inpsector. Confirm the paths for your different game assets are what you expect. If not you may need to do some trouble shooting (feel free to comment below if you get stuck, preferrably including a link to your repo, and I’ll try to help).
You are serving your Unity game from github, which is awesome.
Feel free to make any changes you want to any of the files we touched in this guide - for example, you could try updating _includes/page__unity.html to only load the game after a button is pressed.
And that’s it. Check out the next post for a working example.

Leave a Comment